Python环境搭建之OpenCV
本文主要讲述在python3.6环境下如何搭建OpenCV开发环境。
文章主要包含以下几个部分:
- OpenCV介绍
- 安装OpenCV
- OpenCV测试
- Python机器学习库介绍
1. OpenCV介绍
Open Source Computer Vision Library.OpenCV于1999年由Intel建立,如今由Willow Garage提供支持。OpenCV是一个基于BSD许可(开源)发行的跨平台计算机视觉库,可以运行在Linux、Windows、MacOS操作系统上。它轻量级而且高效——由一系列 C 函数和少量C++类构成,同时提供了Python、Ruby、MATLAB等语言的接口,实现了图像处理和计算机视觉方面的很多通用算法。
简而言之,通过openCV可实现计算机图像、视频的编辑。广泛应用于图像识别、运动跟踪、机器视觉等领域。
2. 安装OpenCV
这里我们是在Win7 Python3.6.2(64bit)的环境下安装OpenCV:
C:\Users\Administrator>python
Python 3.6.2 (v3.6.2:5fd33b5, Jul  8 2017, 04:57:36) [MSC v.1900 64 bit (AMD
 on win32
Type "help", "copyright", "credits" or "license" for more information.
>>>
OpenCV依赖于numpy、matplotlib、opencv-python三个包。这里我们首先介绍一下python3.6下安装numpy + scipy + matplotlib,注意这里我们安装的numpy为numpy+mkl,因为scipy需要依赖于numpy + mkl。
2.1 安装 numpy + scipy + matplotlib + scikit-learn
参看:http://blog.csdn.net/yxpyxp12341234/article/details/70436854
(1) 安装
直接通过如下命令安装时容易出现问题:
pip install numpy
pip install scipy
pip install matplotlib
此时,我们需要到 http://www.lfd.uci.edu/~gohlke/pythonlibs/ 下载对应的安装包。这里我们根据自己的环境,下载安装包如下:
numpy‑1.13.1+mkl‑cp36‑cp36m‑win_amd64.whl

scipy-0.19.1-cp36-cp36m-win_amd64.whl

scikit_learn‑0.19.0‑cp36‑cp36m‑win_amd64.whl
下载好后安装numpy‑1.13.1+mkl‑cp36‑cp36m‑win_amd64.whl,提示文件名错误:
C:\Users\Administrator>pip install E:\numpy‑1.13.1+mkl‑cp36‑cp36m‑win_amd64.whl
numpy‑1.13.1+mkl‑cp36‑cp36m‑win_amd64.whl is not a valid wheel filename.此时,我们需要将将文件名更改一下,变成numpy-1.12.1-cp36-none-win_amd64.whl,然后执行如下命令进行安装即可:
pip install E:\numpy-1.12.1-cp36-none-win_amd64.whl
pip install E:\scipy-0.19.1-cp36-cp36m-win_amd64.whl
pip install matplotlib                        # matplotlib直接安装即可
pip install
(2) 程序验证
编写如下程序进行验证:
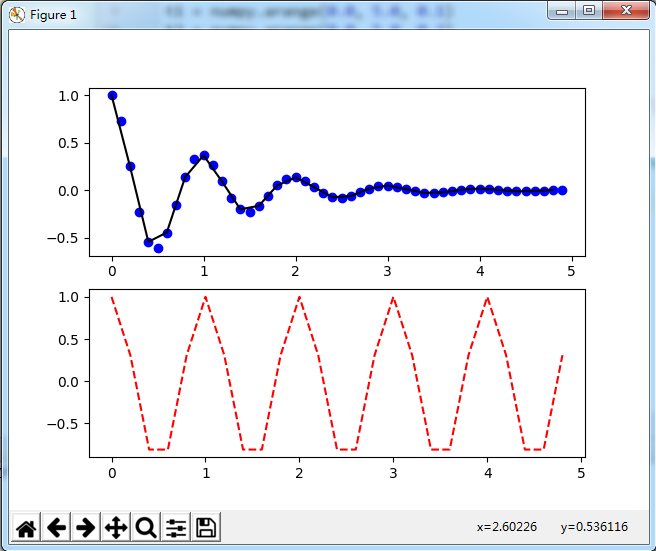
# -*- coding: utf-8 -*-

import numpy
import matplotlib.pyplot

def f(t):
    return numpy.exp(-t)*numpy.cos(2*numpy.pi*t)

t1 = numpy.arange(0.0, 5.0, 0.1)
t2 = numpy.arange(0.0, 5.0, 0.2)

matplotlib.pyplot.figure(1)
matplotlib.pyplot.subplot(211)
matplotlib.pyplot.plot(t1, f(t1), 'bo', t2, f(t2), 'k')

matplotlib.pyplot.subplot(212)
matplotlib.pyplot.plot(t2, numpy.cos(2*numpy.pi*t2), "r--")

matplotlib.pyplot.show()
程序运行结果如下:
2.2 安装OpenCV
上面我们已经成功的安装了numpy + matplotlib,此时我们一般可以直接通过如下命令来安装OpenCV:
pip install opencv-python3. OpenCV测试
编写如下脚本:
# -*- coding: utf-8 -*-

import numpy
import cv2


print(cv2.__version__)

# read image, support bmp,jpg,png,tiff format
img = cv2.imread("D:\\timg2.jpg")


emptyImage = numpy.zeros(img.shape,numpy.uint8)
emptyImage2 = img.copy()
emptyImage3 = cv2.cvtColor(img, cv2.COLOR_BGR2GRAY)


# create window and display the created window
cv2.namedWindow("Image")
#cv2.imshow("Image",img)
#cv2.waitKey(0)

#cv2.imshow("Image",emptyImage2)
#cv2.waitKey(0)

cv2.imshow("Image",emptyImage3)
cv2.waitKey(0)

# destory window
cv2.destroyAllWindows()
运行结果如下:

4. Python机器学习库介绍
Python下有很多关于机器学习的库,最常用的组合有以下四个:
numpy: 主要用来做一些科学运算,主要是矩阵运算。NumPy为Python带来了真正的多维数组功能,并且提供了丰富的函数库处理这些数组。它将常用的数学函数都进行数组化,使得这些数学函数能够直接对数组进行操作,将本来需要在Python级别进行的循环,放到C语言的运算中,明显地提高了程序的运算速度。
scipy: 主要是一些科学计算工具集,信号处理工具集(如线性代数使用LAPACK库,快速傅里叶变换FFTPACK库)及数值计算的一些工具(常微分方程求解使用ODEPACK库,非线性方程组求解以及最小值求解等)。
scikit-learn: 里面有很多机器学习相关的算法(如聚类算法,SVM等)
matplotlib: 是一个画图工具,和Matlab中的画图工程类似。
5. Linux上安装opencv
当前安装环境为Centos7.1(64bit) + python3.6.2。在Linux下安装OpenCV-Python相对简单,直接采用如下命令:
pip install numpy
pip install scipy
pip install matplotlib
pip install scikit-learn
pip install opencv-python
安装好后测试:
[root@localhost python]# python3
Python 3.6.2 (default, Aug 28 2017, 23:56:32)
[GCC 4.8.5 20150623 (Red Hat 4.8.5-11)] on linux
Type "help", "copyright", "credits" or "license" for more information.
>>> import cv2
>>> print(cv2.__version__)
3.3.0
>>>
要源代码编译安装请参看:
(1) Install OpenCV 3.0 with Python 3.4 on OSX & Ubuntu
(2) Ubuntu14.04 64位+Python3.4环境下安装opencv3.0的方法
(3) ubuntu14/16 安装python3-opencv3
6. 参考
openCV学习网站:http://www.opencv.org.cn/opencvdoc/2.3.2/html/doc/tutorials/tutorials.html
openCV-python教程:http://opencv-python-tutroals.readthedocs.io/en/latest/index.html
